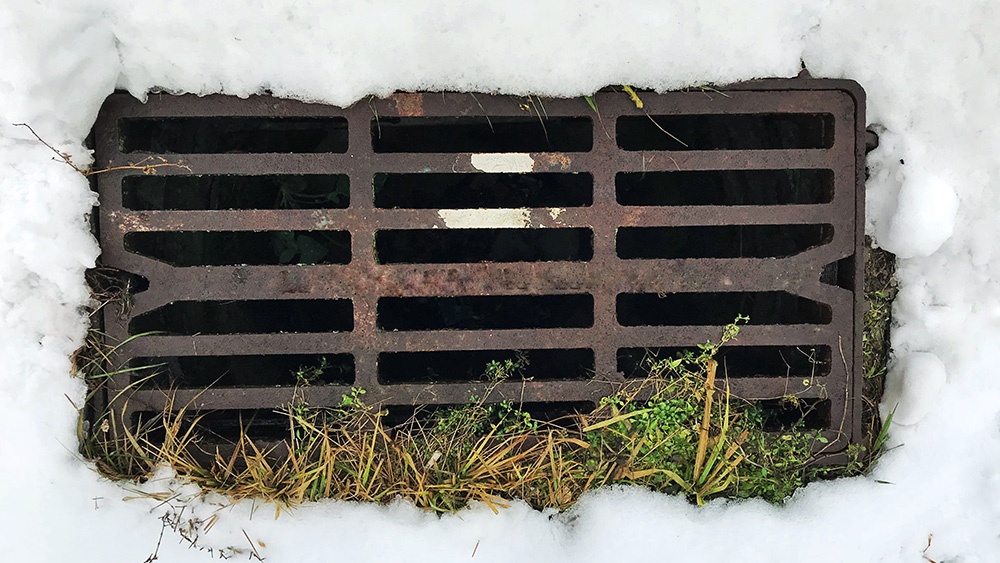
Winter is coming, and now's the best time to prepare residential plumbing for the change in temperature. While most homeowners remember to handle basic plumbing tasks, such as cleaning out the gutters, many often forget about the outdoor sprinkler system.
This oversight often leads to plumbing leaks and other damage, making it an important task to tackle as soon as possible. Here are the basic steps required to prepare the irrigation system for colder weather.
Step 1: Shut Off The Water Supply
The first step to take when doing any irrigation or plumbing repair work is to shut off the water supply to the system. Look for the knob, and turn it to the off position completely. The step sounds simple, but a few additional steps are required in the process.
In older plumbing systems, the valve boxes require a special key to shut off the water main leading into the system. If you don’t know where to find this key, contact the original contractor. You can also take a picture and show it to the nearest irrigation supply warehouse as an appropriate alternative to getting one that you use year after year when winterizing your home.
Step 2: Purge The Backflow Device
Some irrigation systems include a backflow device, which needs to be purged each winter. If your home is on a community water system, the setup likely has one. Refer to the original manual to determine the best way to handle the winterization process.
Most irrigation providers have manuals available for free download online. If you can’t find one or don’t know the model of the unit, contact a plumbing professional to help with this step.
Step 3: Drain The System
Leftover moisture in the irrigation system often causes major issues when the temperature dips below freezing. Instead, ensure everything is completely dry by using an air compressor. The size of the air compressor dictates the length of time this process will take.
In most cases, a small garage-style unit is perfectly acceptable for most small-yard irrigation systems.
Set the compressor range to around 40 to 80 PSI - with the higher number being appropriate for rigid PVC tubing and flexible piping at no higher than 50 PSI. Find the blowout valve for the system and attach the compressor nozzle. Use two to three short cycles of compressed air to help dry the lines.
Use caution during this process. Each irrigation system is unique, and general do-it-yourself advice should be taken with the note that your system might have different requirements. When in doubt, refer to the unit model's manual.
Step 4: Reprogram The Controller
As the final step to winterizing the irrigation system in your home, reprogram the controller to ensure that it isn’t running on the same schedule as during other seasons, specifically summer and fall. Set timers to either stay off or run at a maximum of once a week. As mentioned above, the exact steps here depend on your unique irrigation setup.
Feeling overwhelmed by this list of plumbing tasks? Need help winterizing the irrigation system in your home? Contact our team at Warner Service today to schedule an appointment with our friendly and knowledgeable sprinkler repair technicians.
You can also subscribe to the Warner Service blog for more tips on how to winterize your home and protect the drainage system. Click on the button below to get started:


