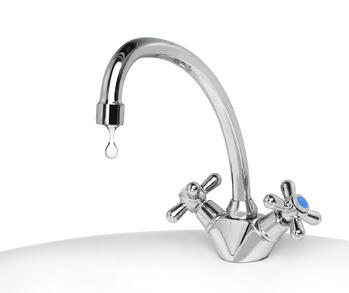
Nothing is more annoying than a dripping or leaking faucet, but who wants to call a plumber out for such a small task? Luckily for you, fixing a basic faucet leak is simple and can be done quickly and cheaply on your own! That's why Warner Service has put together this guide to help you Skip the Drip!
Steps
-
Tighten the nut

The first possible cause of a leak is a loose nut in the faucet handle. To check this nut, first remove the cover of the sink handle by removing the screw that secures it in place. This screw usually is covered up by a decorative cap that can be removed (carefully) with a flathead screwdriver.
Here's a Pro Tip: Use a rag or hand towel to cover the drain and keep any parts from falling and getting stuck in the plumbing.
-
Turn off water
If tightening the nut doesn't solve the problem, the problem is likely from the washer. To make sure you don't create a huge mess, locate the shut-off valve for the faucet and turn off the water.
The shut-off valve will most likely be beneath the sink. If not, follow the pipes until you find it. Turn the valve's handle to the right to shut off the water.
-
Next, make sure the faucet is empty by opening the faucet. Twist the top of the stem until all remaining water in the pipes flows out.
Empty the faucet
-
Remove the stem assembly
Unscrew the packing nut to remove the entire component that holds the stem of the handle. This part is called the stem assembly.
-
Replace the washer
If your faucet has a washer on the bottom of the stem assembly, remove the screw holding it on. Replace the old washer with a new one, then tighten the screw.
Tip: Using the correctly sized washer is critical to ensuring a good seal and fixing the leak, but different faucets will use different sizes. To be sure that you are using the correct washer, take the washer you are replacing to the hardware store when buying the new one. -
Wrap the nut
If your faucet doesn't have a washer, it is still likely that there is not a proper seal. To fix this, wrap the packing nut with string or wicking (available at hardware stores), which will act as a washer and seal the faucet. As another alternative, put a thin line of plumber's putty around the threads at the bottom of the stem assembly.
-
Reassemble
Now, replace the stem assembly and place all of your parts back together to reassemble the faucet handle. If you have leftover parts after putting the handle back together, stop here and re-examine your assembly. You don't want to proceed until you are sure all the parts are in their correct places, unless you are ready to clean up a big mess!
-
Turn water on
Finally, once your faucet is completely reassembled, go back under your sink and turn the shut-off valve back on. Then, put the faucet through its paces to ensure the sink works as it should. Now, enjoy the silence!
Fixing a leaky faucet can save up to 20 gallons of water every day (almost as much as a leaky toilet), not to mention your sanity. If you need any help with your plumbing, especially before the holidays, give Warner Service a call to have a qualified technician examine your home and fix your issues.


